A paint problem on Florida siding rarely starts as a large, obvious failure. It often begins with a slightly dull patch on the sunny side of the house, a thin crack near a window, or mildew returning where irrigation keeps the wall damp. Knowing how to inspect painted siding helps you catch those early warnings before moisture reaches the material beneath the coating.
For homes in Venice, Sarasota, Bradenton, and surrounding Gulf Coast communities, an exterior inspection should be part of regular property care. Heat, ultraviolet exposure, humidity, salt air, and summer storms put painted siding under constant pressure. A careful walkaround can tell you whether the surface needs cleaning, minor repairs, spot work, or a properly prepared repaint.
How to Inspect Painted Siding Step by Step
Choose a dry day with good daylight, ideally after the morning dew has evaporated. Do not inspect immediately after heavy rain, since wet siding can temporarily hide cracks, paint failure, and color variation. Walk slowly around the home from several angles, then look at areas that receive the strongest afternoon sun and the most wind-driven rain.
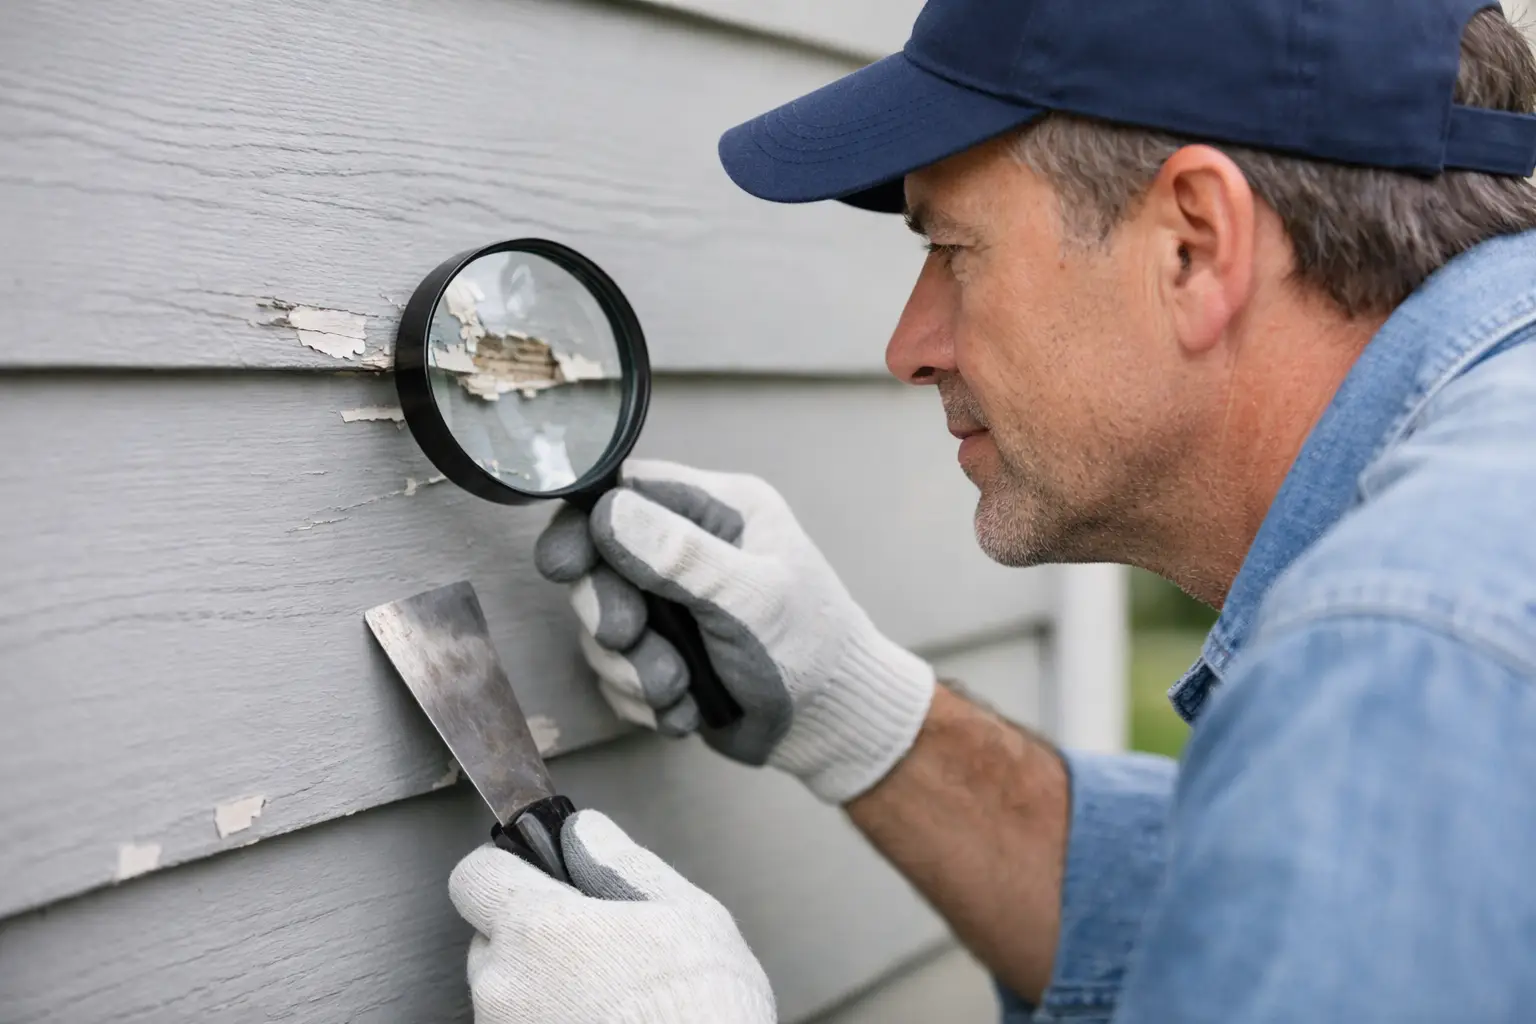
Start several feet back. This wider view makes uneven fading, lap marks, patchy sheen, and warped boards easier to spot. Then move closer and examine joints, trim transitions, nail heads, window and door openings, and the bottom edges of siding. These locations are more likely to collect water or lose paint adhesion first.
A flashlight is useful even during the day. Shine it across the surface at a low angle to reveal raised edges, small blisters, hairline cracks, and rough patches that can disappear in direct sunlight. Take photos as you go, especially if you are a seasonal resident comparing the condition from one visit to the next.
Check the paint film, not just the color
Fading is common on Southwest Florida exteriors, particularly on dark colors and walls facing south or west. Fading alone is often an appearance concern, but it can also signal that the coating is losing its protective strength. Run a dark cloth or your fingertips lightly over the siding. A chalky, powdery residue means the paint binder is breaking down under UV exposure.
Look for peeling, flaking, cracking, or bubbling. Peeling commonly points to an adhesion issue, which may result from inadequate preparation, moisture beneath the coating, or painting over a dirty or unstable surface. Small bubbles may be caused by heat or trapped moisture. If they are soft, widespread, or concentrated near seams and openings, the condition deserves closer investigation before new paint is applied.
Pay attention to whether failure is isolated or repeated across several walls. A few chips caused by impact can often be repaired locally. Paint lifting in multiple areas usually calls for a broader preparation plan, including washing, scraping, sanding, priming, and possibly repairs to the siding itself.
Look for moisture at the vulnerable points
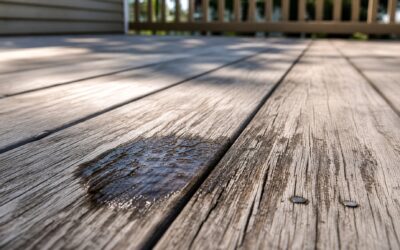
Paint protects siding, but it cannot correct water intrusion. Inspect beneath windows, at roof-to-wall intersections, around doors, near hose bibs, behind downspouts, and where siding meets masonry, trim, or soffits. Look for stained paint, swollen edges, dark streaks, soft spots, or caulk that has pulled away.
If you have wood siding or wood trim, gently press questionable areas with a blunt tool. Sound wood should feel firm. Softness, crumbling fibers, or paint that gives way under light pressure can indicate rot. Do not simply paint over these areas. Damaged material needs repair or replacement first, followed by the right primer and coating system.
For fiber-cement, engineered wood, or composite siding, watch for cracked edges, failed joints, exposed fasteners, and gaps in caulking. The exact repair depends on the material, which is why identifying the siding type matters before selecting products or planning a repaint.
Signs Florida Weather Is Wearing Down Your Siding
Southwest Florida homes face a different set of exterior conditions than homes in dry or cold climates. The question is not only whether paint looks worn. It is whether the coating is still shedding water, resisting mildew, and protecting the substrate through the next wet season.
Mildew often appears as dark gray, green, or black spotting in shaded areas, behind plants, beneath eaves, and on walls exposed to irrigation. It is not always a paint failure, but repeated growth can hold moisture against the surface and affect appearance. Before repainting, mildew must be cleaned with the appropriate process. Painting over it may create a short-lived finish and allow the discoloration to return.
Wind-driven rain can reveal weak caulk lines and unprotected joints. After a storm, check for new staining around openings or along siding seams. Also look at landscaping. Shrubs pressed against the exterior restrict airflow, trap humidity, and can scratch the paint film. Redirect sprinkler heads that regularly spray the house, since constant water exposure accelerates mildew and coating wear.
Coastal properties may also experience salt residue and more intense weather exposure. A surface can look clean while still carrying contaminants that interfere with adhesion. Thorough washing and drying are essential before any touch-up or repainting work begins.
A Practical Siding Inspection Checklist
As you complete your walkaround, document conditions in four categories: paint performance, moisture, siding condition, and maintenance needs. The following issues are worth noting for each wall:
- Fading, chalking, dull sheen, or uneven color
- Peeling, blistering, cracking, exposed bare areas, or loose paint edges
- Mildew, algae, salt residue, dirt buildup, or irrigation staining
- Failed caulk, open joints, gaps around windows, or rusting fasteners
- Soft wood, warped boards, damaged trim, cracked panels, or impact marks
- Overgrown plants, clogged gutters, or downspouts draining against the wall
Photos with brief notes are more helpful than trying to remember every detail. Mark which side of the home is affected and whether the problem is near a window, gutter, roofline, or ground contact. That information helps separate normal weathering from a condition that may have an underlying cause.
When Cleaning or Touch-Ups Are Enough
Not every inspection leads to a full exterior repaint. If the existing finish is sound, firmly bonded, and only lightly soiled, professional pressure washing or soft washing may restore much of its appearance. The right method depends on the siding material and paint condition. Excessive pressure can force water behind siding, damage soft wood, or strip weak paint.
Touch-ups can work when paint loss is small, the original color is still available, and the surrounding paint has not faded dramatically. However, touch-up paint often flashes or stands out on older exteriors, especially in strong Florida sun. A contractor can assess whether spot repairs will blend acceptably or whether repainting an entire wall will produce a cleaner result.
When to Schedule a Professional Assessment
Arrange a professional inspection when paint is peeling in several places, there are recurring mildew problems, caulk is failing around multiple openings, or you suspect water damage. It is also wise to get an assessment before listing a home, after a major storm season, or when the exterior has not been painted for many years.
A qualified painting contractor should evaluate more than color. The assessment should include cleaning needs, surface repairs, moisture-prone details, failed caulking, primer selection, and the coating suited to your siding material. Preparation is where a durable job is won or lost. A fresh coat placed over chalk, mildew, loose paint, or unsealed repairs may look good briefly but will not deliver the protection your home needs.
With more than 15 years of local experience and 2,700-plus completed projects, Pro Painting & Associates helps homeowners understand what their siding needs without pressure or guesswork. A free, no-obligation estimate can clarify the scope, recommended preparation, and upfront pricing before work begins.
Make your inspection a regular habit, ideally once before the wet season and again after the harshest summer weather has passed. Catching a failed caulk line or small peeling area early is usually simpler, cleaner, and less costly than waiting for moisture to turn a paint issue into a siding repair.