A few lifting edges of paint can quickly turn into exposed wood, stained stucco, or a larger moisture problem on a Southwest Florida home. Effective paint peeling repair is not just a matter of brushing on a new coat. The lasting fix begins with identifying why the paint failed, then preparing the surface carefully enough for a new coating system to bond.
In Venice, Sarasota, Bradenton, and nearby Gulf Coast communities, paint works hard. High humidity, intense UV exposure, wind-driven rain, salt air, mildew, and seasonal storms all put pressure on exterior surfaces. Interior peeling has different causes, but it also deserves a closer look before repainting. Addressing the source early can protect your home and prevent a small repair from becoming a larger restoration project.
Why Paint Peels in Florida Homes
Paint peels when it loses its grip on the surface beneath it. That failure may be caused by moisture, poor surface preparation, incompatible coatings, aging paint, or damage to the material itself. On local exteriors, moisture is often the first concern.
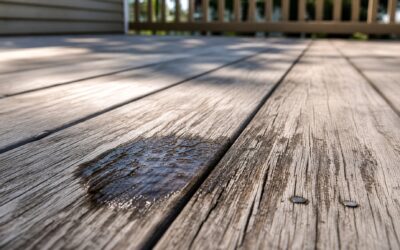
Water can enter through cracked caulk, failing window seals, roof leaks, open joints, unsealed end grain, or gaps around trim. Once moisture reaches wood or gets behind a coating, the paint may bubble, blister, crack, or pull away in sheets. Painting over that area without correcting the water path may improve the appearance briefly, but the new paint is likely to fail again.
Sun exposure is another major factor. Florida UV rays gradually break down paint binders, leaving the surface chalky, faded, and less able to hold a fresh coat. Dark colors and south- or west-facing walls can be especially demanding. Coastal properties may also experience salt residue and mildew growth, both of which can interfere with adhesion when surfaces are not thoroughly cleaned.
On interior walls and ceilings, peeling paint can point to a bathroom ventilation issue, a plumbing leak, condensation around an air-conditioning vent, or a past repair that was not properly sealed and primed. Kitchens, laundry rooms, and garages also see more humidity and temperature changes than many homeowners realize.
Paint Peeling Repair Starts With the Cause
The right repair depends on what is failing and why. A small spot of peeling on otherwise sound trim may need localized scraping, sanding, priming, caulking, and repainting. Widespread peeling across soffits, fascia, siding, or stucco often calls for more extensive preparation and a closer inspection of the building envelope.
A professional assessment should look beyond the visible paint edge. The goal is to determine whether the substrate is dry, stable, and suitable for repainting. If wood is soft, cracked, or deteriorated, repair or replacement may be needed before paint can do its job. If stucco has cracks, those openings should be addressed with the appropriate patching material and allowed to cure as needed.
It also matters what type of coating is already on the surface. Latex paint, oil-based paint, elastomeric coatings, stains, and specialty protective coatings do not all behave the same way. Applying the wrong primer or topcoat can create another adhesion problem. This is one reason a seemingly simple touch-up sometimes becomes a recurring issue.
The Proper Repair Process
Lasting results come from preparation, not from adding more paint over failing layers. At Pro Painting & Associates, the process is built around correcting surface conditions before premium coatings are applied.
Remove Loose and Failed Paint
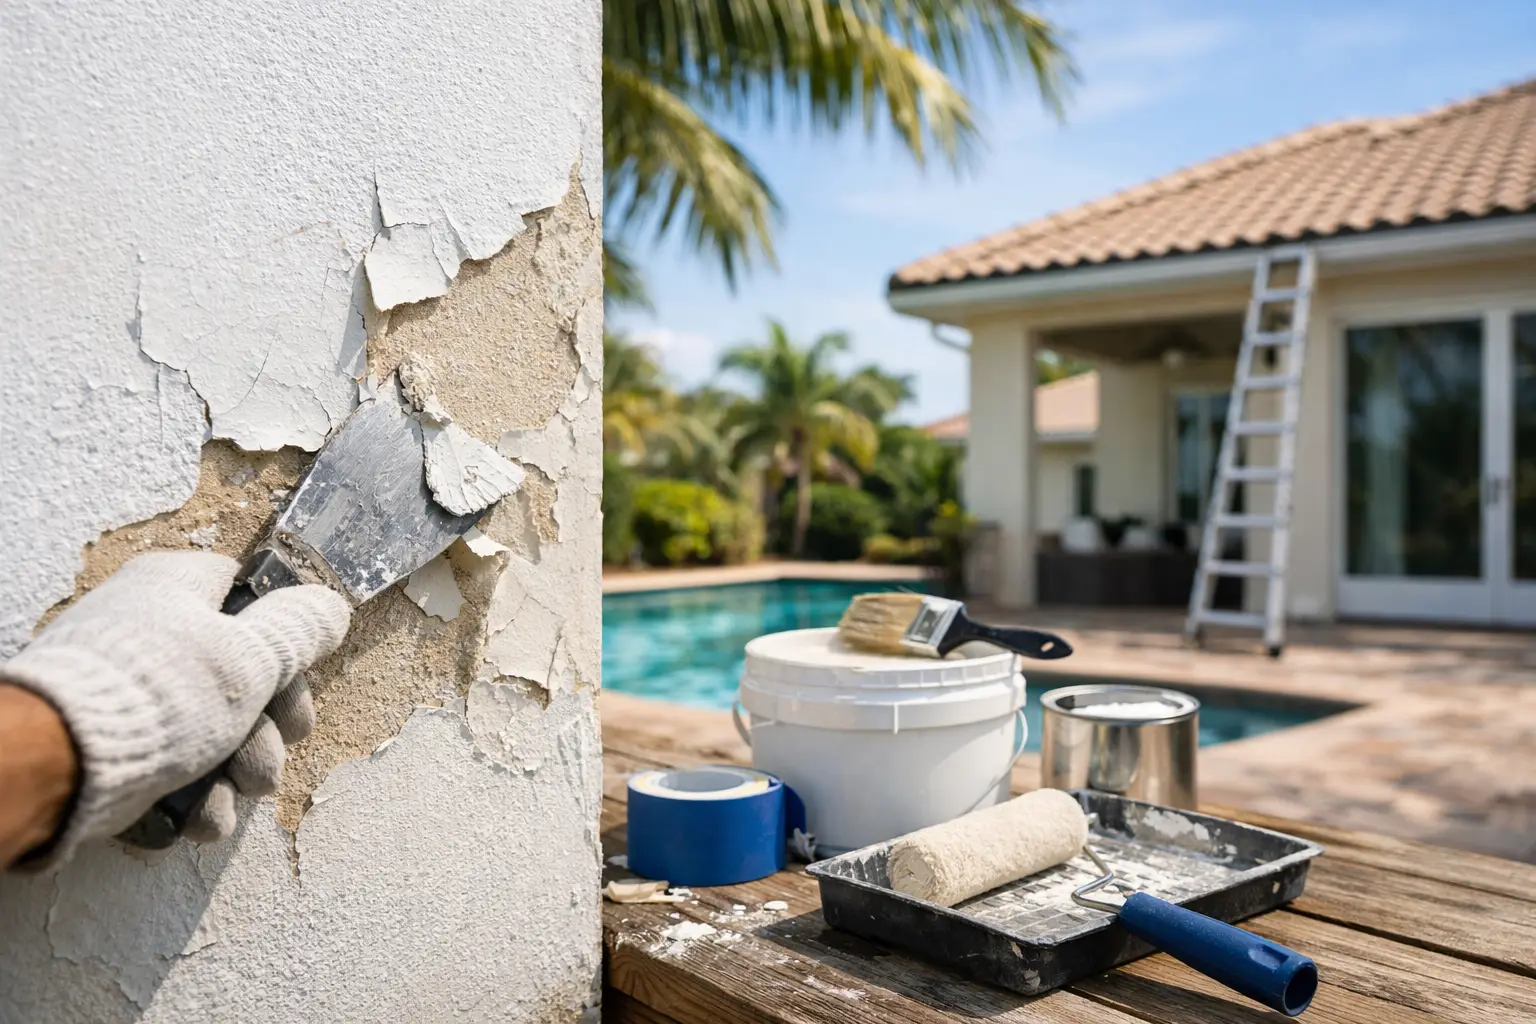
All loose, bubbling, flaking, and poorly bonded paint must be removed. This may involve hand scraping, sanding, wire brushing, or other appropriate surface-preparation methods. The work should continue until the remaining paint has a solid edge and the exposed material is stable.
This step can reveal the true size of the problem. A spot that appears to be only a few inches wide may extend farther once unsound paint is removed. That is not a setback. It is the necessary work that prevents loose layers from undermining the new finish.
Clean Away Contaminants
Exterior surfaces need to be free of dirt, chalking residue, mildew, salt, and loose debris. Pressure washing can be useful when performed at the right pressure for the material. Too much pressure can damage wood, drive water behind siding, or scar softer surfaces, so the method should match the condition of the home.
Mildew needs more than a quick rinse. It should be treated properly, and the surface must dry thoroughly before priming or painting. Applying paint to a damp surface is one of the fastest ways to invite future peeling, especially during humid weather.
Repair, Seal, and Prime
After cleaning and drying, damaged areas are repaired. That can include filling minor wood imperfections, patching stucco cracks, repairing drywall, replacing deteriorated trim, or sealing gaps around joints and penetrations. Quality caulking is particularly important around windows, doors, trim, and other places where water can work its way in.
Primer is not optional when bare wood, patched areas, stains, chalky surfaces, or difficult transitions are present. The right primer creates a stable bridge between the substrate and finish paint. It can also help block tannins from wood, stains from water damage, and uneven absorption that would otherwise show through the final coat.
Apply a Coating Made for the Surface
The finish coat should be selected for the specific material and exposure. Exterior wood, stucco, masonry, metal, and fiber-cement surfaces may require different products and application methods. In Southwest Florida, coatings need reliable resistance to UV fading, moisture, mildew, and daily temperature changes.
The weather also affects timing. A good painting day is not simply a dry-looking day. Temperature, humidity, surface temperature, rain forecasts, and drying windows all influence adhesion and cure time. Sometimes waiting for the right conditions is the best decision for a durable finish.
When a DIY Repair May Be Enough
A homeowner may be able to handle a very small, isolated repair when the cause is clear and resolved. For example, a minor scuff or chip on an interior wall can often be sanded, spot-primed, and touched up with matching paint.
Exterior peeling is less forgiving. If paint is bubbling, there are repeated areas of failure, wood feels soft, mildew keeps returning, or the problem is near windows, rooflines, or trim joints, professional help is usually the more cost-effective path. Those signs may indicate moisture intrusion or a preparation issue that will not be solved by a touch-up brush.
Homes built before 1978 require added caution. Older paint may contain lead, and disturbing it without proper procedures can create a health hazard. In that situation, use qualified professionals who understand safe work practices.
How to Prevent Peeling After the Repair
Once the repair is complete, a little maintenance helps protect the investment. Walk around the exterior after major storms and look for open caulk lines, damaged gutters, loose trim, or areas where water collects. Keep sprinklers from repeatedly soaking walls, doors, and fences. Trim back vegetation that traps moisture against siding or blocks airflow.
For interiors, use bath fans during and after showers, address plumbing leaks promptly, and watch for stains or soft drywall around ceilings and windows. Early attention is usually simpler and less expensive than waiting for paint to fail across a larger area.
A quality paint job should look clean on day one, but its real value is how well it holds up through the next summer, storm season, and humid stretch of weather. If peeling paint is showing up on your home, the most helpful next step is a clear assessment of the cause and a repair plan built for the conditions your property faces. A free, no-obligation estimate can give you that clarity before a small issue spreads.