A dated kitchen can make an otherwise well-kept Florida home feel tired, even when the cabinet boxes are still solid. Cabinet refinishing gives homeowners a practical way to update that space without the demolition, disruption, and expense of a full cabinet replacement. Done correctly, it can transform yellowed oak, worn white finishes, and scuffed bathroom vanities into clean, durable surfaces built for daily use.
For homes in Venice, Sarasota, Bradenton, and surrounding Gulf Coast communities, the result depends on far more than choosing a popular paint color. Heat, humidity, cooking residue, coastal air, and moisture around sinks all place extra demands on cabinet coatings. Thorough preparation and the right finishing system are what separate a beautiful update from peeling paint a year later.
What Cabinet Refinishing Can Change
Cabinet refinishing is the process of restoring existing cabinet surfaces rather than removing and replacing the cabinetry. Depending on the material and condition, the work may include deep cleaning, sanding, filling dents and grain, repairing minor damage, priming, and applying a durable finish coat.
It is especially effective when cabinet boxes are structurally sound but the visible finish no longer suits the home. A dark, heavy kitchen can be brightened with a soft white or warm neutral. Honey oak can be updated with a painted finish. Bathroom cabinets with scratches, fading, or water-stained areas can be restored so the room feels cleaner and more current.
Refinishing also preserves a layout that already works. That matters for homeowners who like their storage, countertops, and appliances exactly where they are, but want the room to look more intentional. For sellers and property investors, refreshed cabinets can improve first impressions without committing to a full kitchen renovation schedule.
Cabinet Refinishing vs. Replacement
Replacement makes sense when cabinets have serious structural problems, extensive water damage, swollen particleboard, failed joints, or a layout that no longer meets the household’s needs. New cabinets are also the better choice when a homeowner wants to move walls, add an island, or make major changes to plumbing and appliances.
But replacement brings demolition, longer timelines, coordination with other trades, and higher costs. Cabinet refinishing is often the better value when the frames, doors, and drawers are in good condition. It delivers a significant visual change while keeping the project focused on the surfaces that people see and use every day.
The best decision starts with an honest assessment. A professional should identify loose hinges, chipped veneer, failed thermofoil, water damage under sinks, and other issues before promising a finish. Some repairs are straightforward. Others signal that refinishing would only cover a larger problem for a short time.
Materials Matter More Than Many Homeowners Expect
Solid wood and previously painted wood cabinets are often strong candidates for refinishing. MDF doors can also be refinished successfully when their edges are intact and the material has not swollen from moisture exposure. Veneered cabinets require careful preparation because aggressive sanding can cut through the thin wood layer.
Thermofoil cabinets need closer evaluation. If the plastic-like surface is firmly bonded and properly prepared, a coating system may be possible. If the thermofoil is peeling, bubbling, or separating from the door, replacement doors or cabinet replacement may be the more dependable choice.
The Preparation That Protects the Finish
Cabinets are not walls. Kitchen surfaces collect airborne grease, food residue, hand oils, cleaning-product buildup, and moisture. A new coating cannot form a reliable bond over contamination, even if the cabinets look clean at first glance.
A quality cabinet refinishing process begins with protection. Countertops, floors, appliances, and nearby areas should be carefully masked and covered. Doors and drawer fronts are typically removed, labeled, and set up for controlled preparation and finishing. Hardware is removed when possible so paint does not bridge around hinges or leave thick edges around handles.
Next comes cleaning and deglossing. The existing finish must be cleaned thoroughly, then scuff-sanded or otherwise prepared to create adhesion. Dents, chips, and open seams are repaired. Wood grain may be filled when a smoother, more contemporary painted look is desired, though some homeowners prefer a subtle grain texture that fits the home’s character.
Primer is not a shortcut step. The correct bonding primer helps the new coating grip slick, stained, or previously finished surfaces. It can also help block tannin bleed from wood, which can show up as yellow or brown discoloration through light-colored paint. In humid Southwest Florida homes, proper dry times between each stage are just as important as the products themselves.
Choosing a Finish for Florida Kitchens and Baths
The most attractive cabinet color is not always the most practical choice. Bright white remains popular because it reflects light and works with many countertop materials, but it may show cooking splatter and scuffs more readily in an active kitchen. Warm whites, soft greiges, muted greens, and deep blue-gray islands can offer a current look with a little more visual forgiveness.
Sheen also affects both appearance and maintenance. A finish with too little sheen can be harder to wipe clean. A very glossy finish highlights every imperfection in the door surface. Many homeowners prefer a low-luster or satin cabinet finish because it balances cleanability with a refined appearance.
The coating system should be selected for cabinets, not simply pulled from a standard wall-paint shelf. Cabinets need a finish that cures hard, resists household cleaning, and handles repeated contact around knobs, pulls, and drawer edges. Premium cabinet coatings also need appropriate cure time. They may feel dry quickly, but the finish continues to harden after application.
What a Professional Cabinet Project Should Include
A dependable contractor makes the project easier by setting expectations before work begins. That includes confirming the cabinet material, documenting repairs, reviewing color and sheen, and explaining how the home will be protected during the work.
A well-managed project generally includes four key parts:
- Detailed cleaning, repairs, sanding, and adhesion-focused priming.
- Careful masking of countertops, backsplashes, floors, appliances, and surrounding areas.
- Controlled application for an even finish on cabinet boxes, doors, and drawer fronts.
- Reinstallation, touch-ups, cleanup, and a final walkthrough to review the completed work.
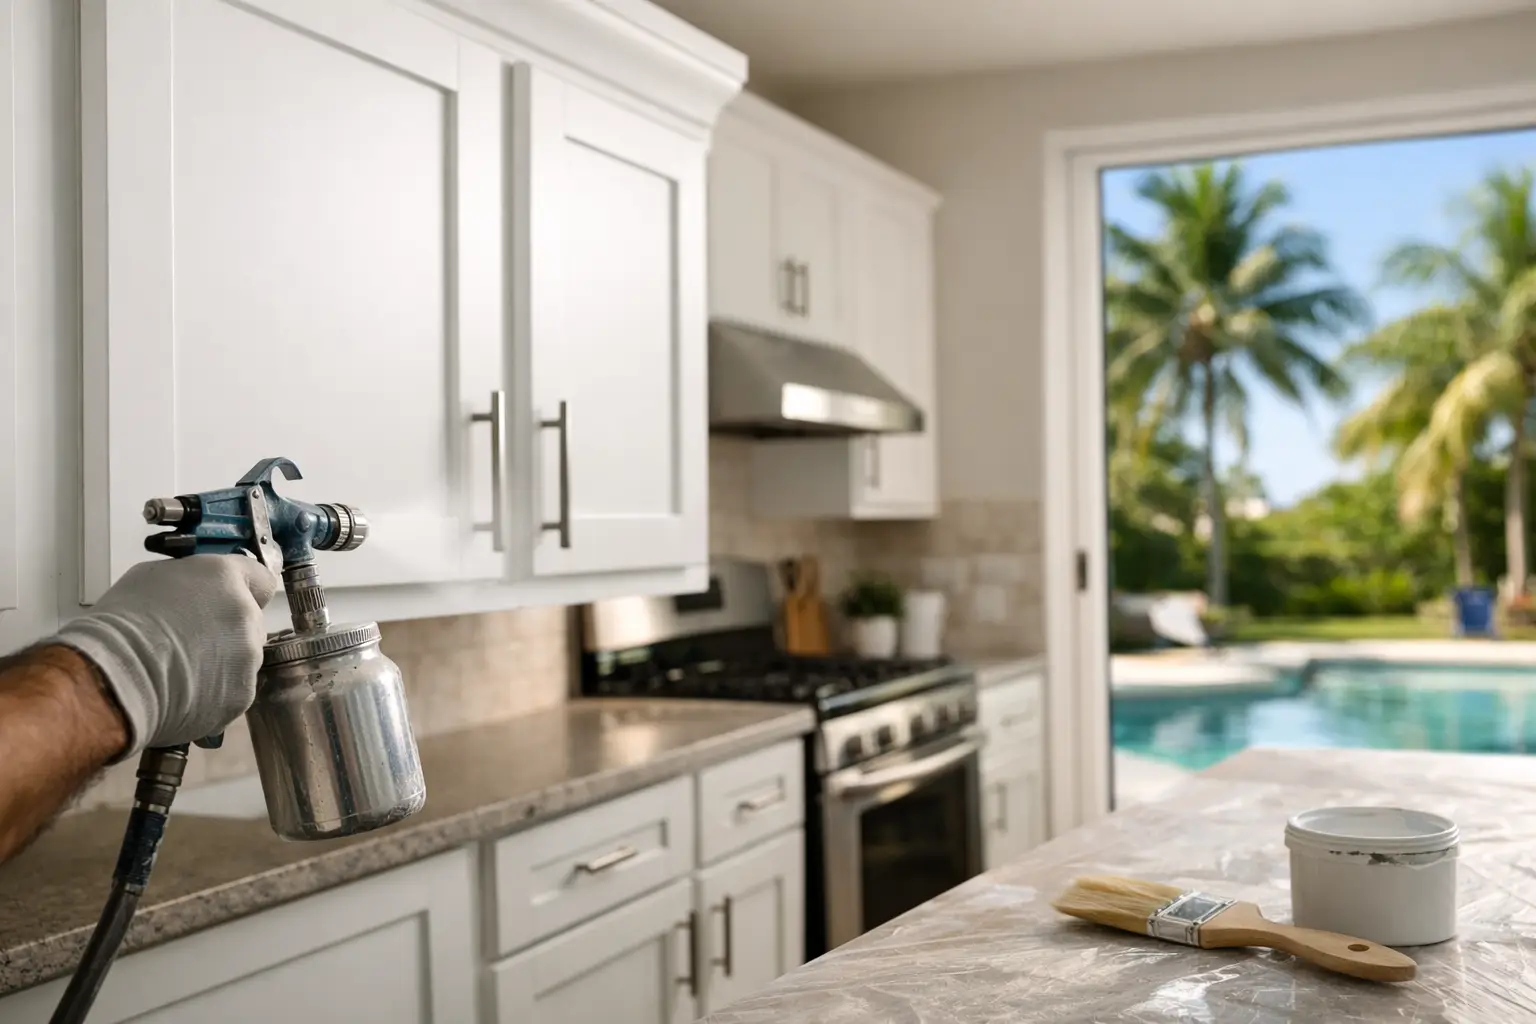
The application method can vary by home and cabinet style. Spraying often produces a smooth, furniture-like finish on doors and drawer fronts, while brushing and rolling may be appropriate for certain areas when completed with the right tools and technique. The goal is not to use one method in every situation. It is to achieve even coverage, clean edges, and a finish that performs well in the room.
At Pro Painting & Associates, cabinet projects are approached with the same detailed preparation and climate-aware product selection used across more than 2,700 completed local projects. Homeowners receive a clear, no-obligation estimate so they can compare refinishing with replacement before making a decision.
Timing, Access, and Daily Use
Most cabinet refinishing projects take several days, with the exact schedule depending on the number of doors and drawers, repairs, drying conditions, and coating system. Kitchens may be partially usable during portions of the project, but homeowners should plan for limited access while surfaces are being prepared and finished.
A professional team should communicate which areas need to be cleared, whether cabinet contents should be removed, and when doors and drawers will be reinstalled. Seasonal residents can also benefit from scheduling cabinet work while they are away, provided the contractor has a clear access and communication plan.
After completion, gentle use protects the investment. Avoid harsh abrasives, steam cleaners, and strong degreasers unless the coating manufacturer recommends them. Use a soft cloth with a mild cleaner, address splatters promptly, and allow the finish to fully cure before placing heavy or frequently used items back against newly coated surfaces.
When Refinishing Is Worth It
Cabinet refinishing is worth considering when your cabinetry is functional, the layout works, and the primary issue is appearance. It can provide the fresh, finished feeling of a renovation while avoiding the waste and complexity of replacing serviceable cabinets.
The key is not rushing the process. Ask about surface preparation, repair methods, primer selection, coating durability, cleanup, and cure time. Those details determine whether the new finish simply looks good at the final walkthrough or continues looking good through Florida summers, busy family meals, and years of everyday use.
If your cabinets are sound but no longer reflect the home you want to live in, a careful evaluation can show whether refinishing is the practical next step.